


When we build applications such as an E-commerce application, a digital wallet, or perhaps a website where we sell our personal e-books, we all at a point would want to receive payments from our customers, there are a lot of payment processing platforms out there but today we will be talking about Flutterwave.
Flutterwave provides the easiest and most reliable payments solution for businesses anywhere in the world, the countries they currently support are Nigeria, Ghana, Kenya, South Africa, Uganda, Tanzania, the United Kingdom, America, and Europe.
This article although limited in scope would give you a foundation or basics to integrating payments using Flutterwave in your next/first ASP.NET project.
Getting Started
- Register as a merchant on Flutterwave
- Get your public key ( you would use your test public key for now since we would be testing using the Test Mode )
- Setting a Webhook URL
- Visual Studio 2019
- Knowledge of Html, JavaScript / jQuery.
Registering as a merchant on Flutterwave
To register as a merchant on Flutterwave visit dashboard.flutterwave.com, once you have registered, you will be taken to your dashboard.
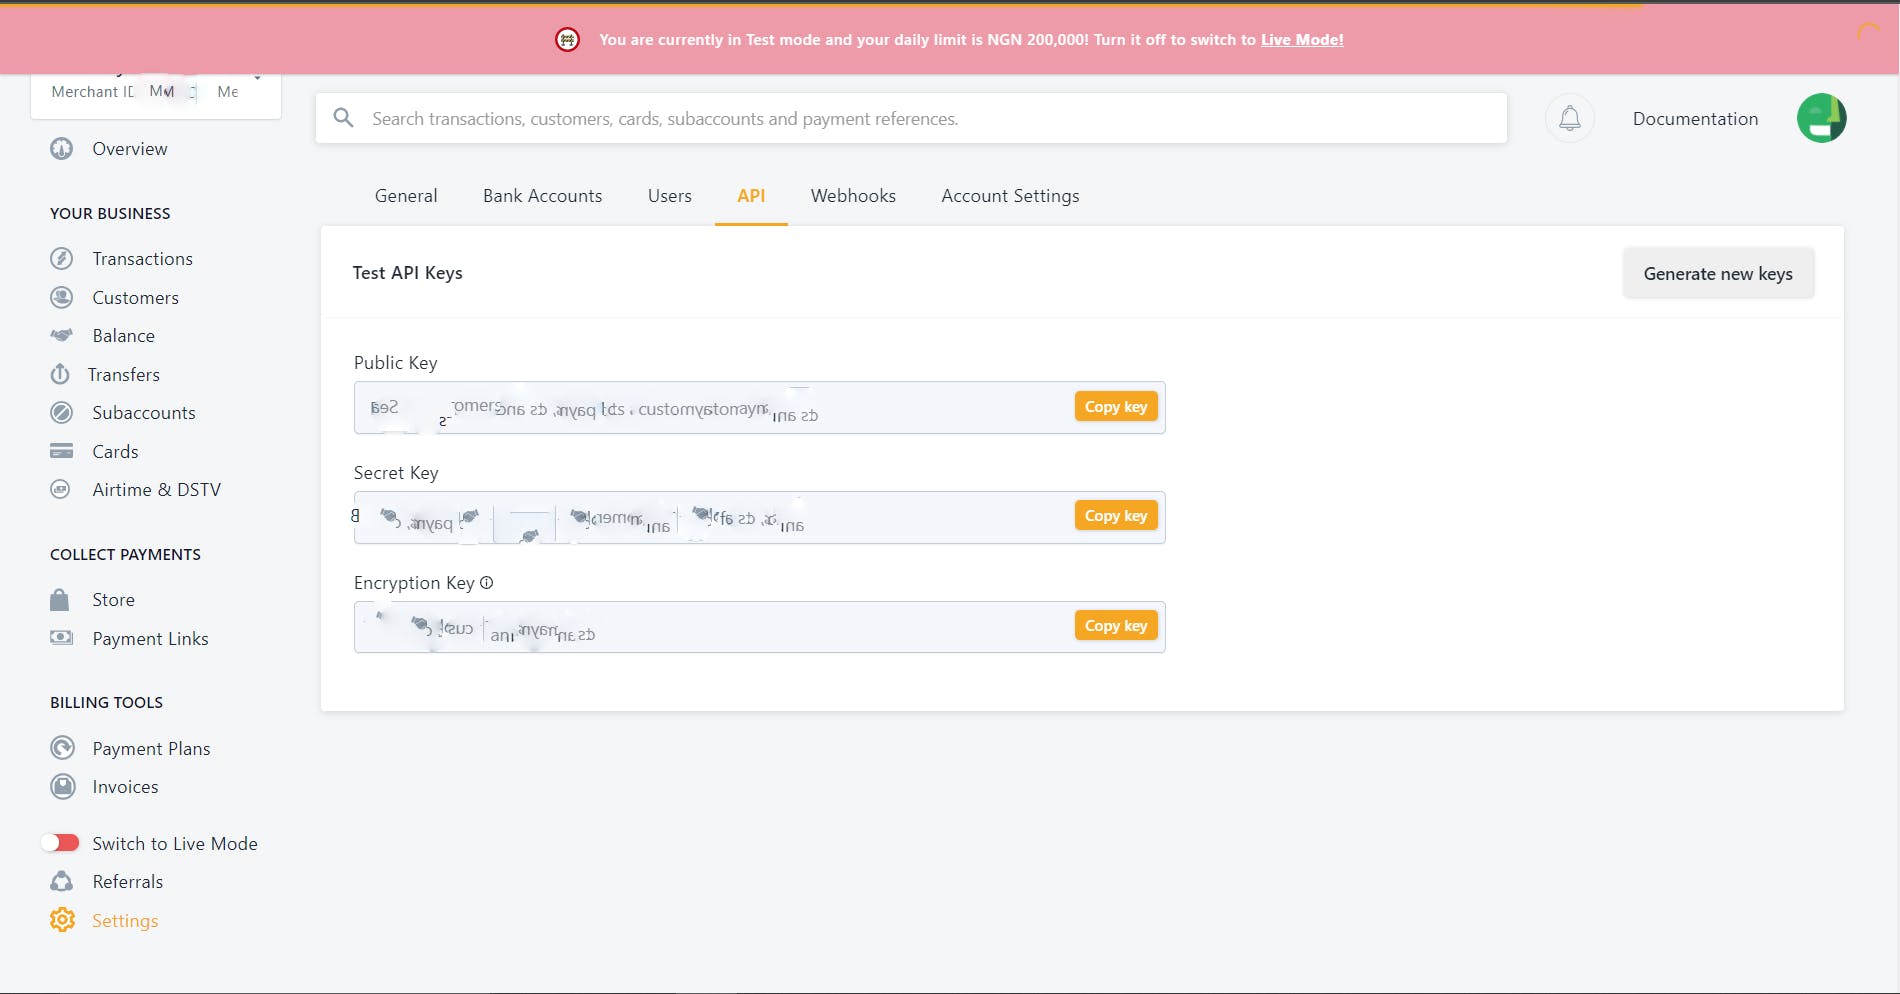
Getting your public key
To get your public key, go to "Settings > Api"
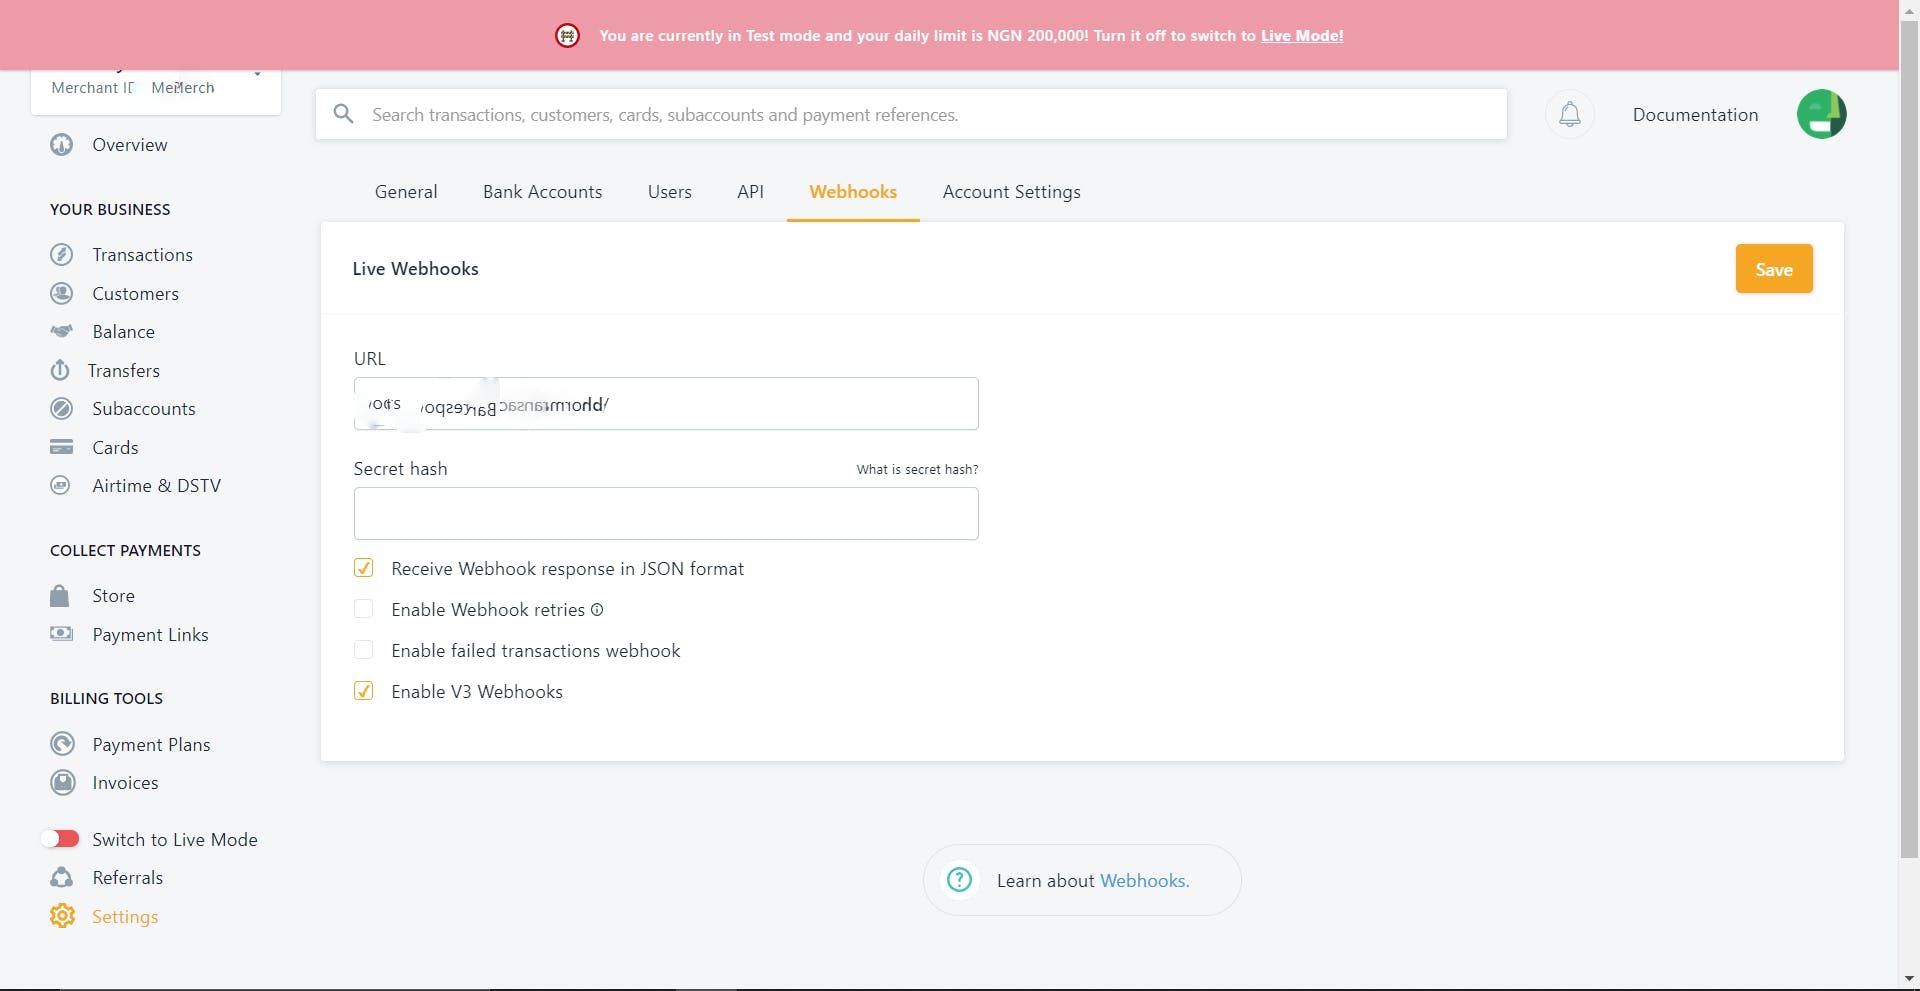
Setting your webhook URL
Still in the "Settings" section, set your webhook URL by going to "Settings > Webhooks", Note: Your "webhook url" will also serve as your "redirect URL" , you would see this in action as we progress in this article.
Since we have finished setting up our merchant account on Flutterwave, let us dive into creating our .NET project and begin our integration.
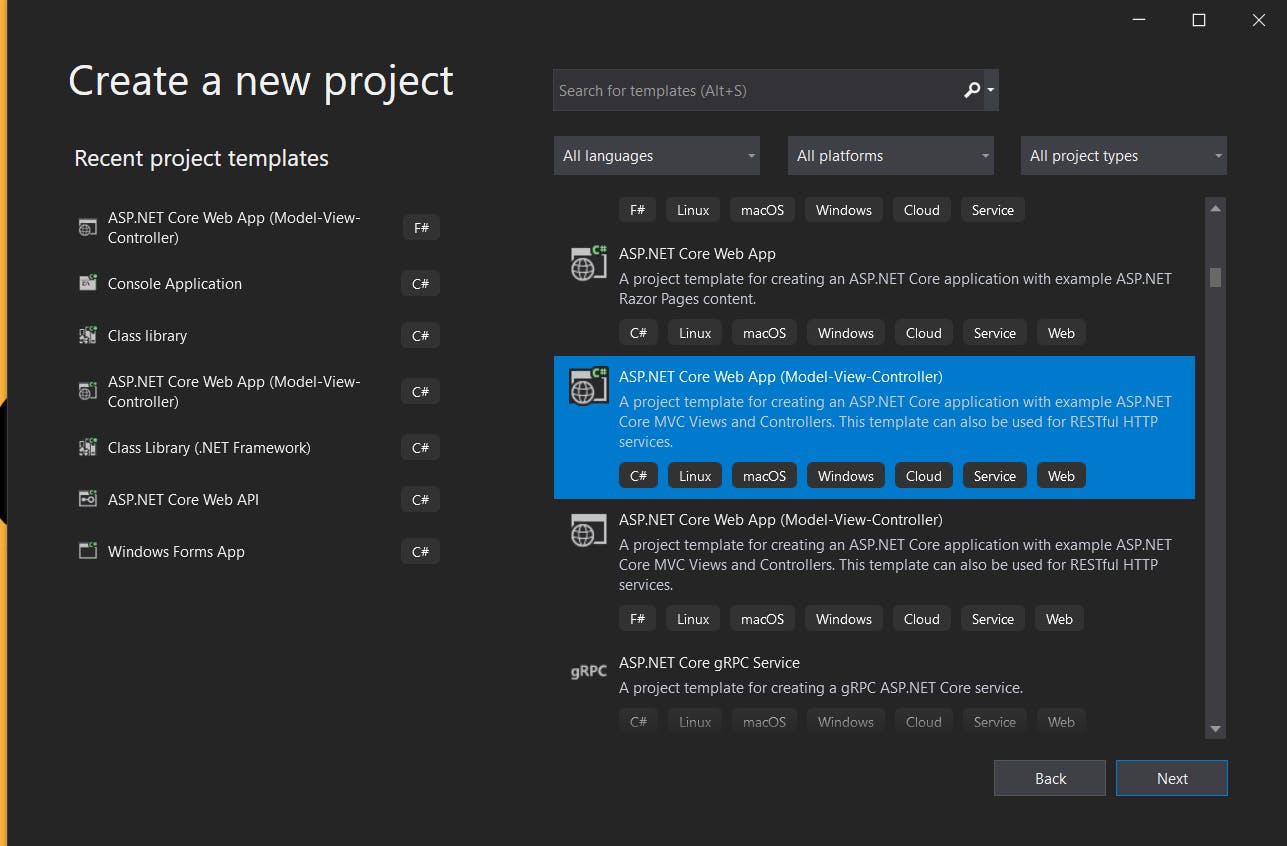
Creating a .Net Application
Select the ASP.NET core web app (model-view-controller) project
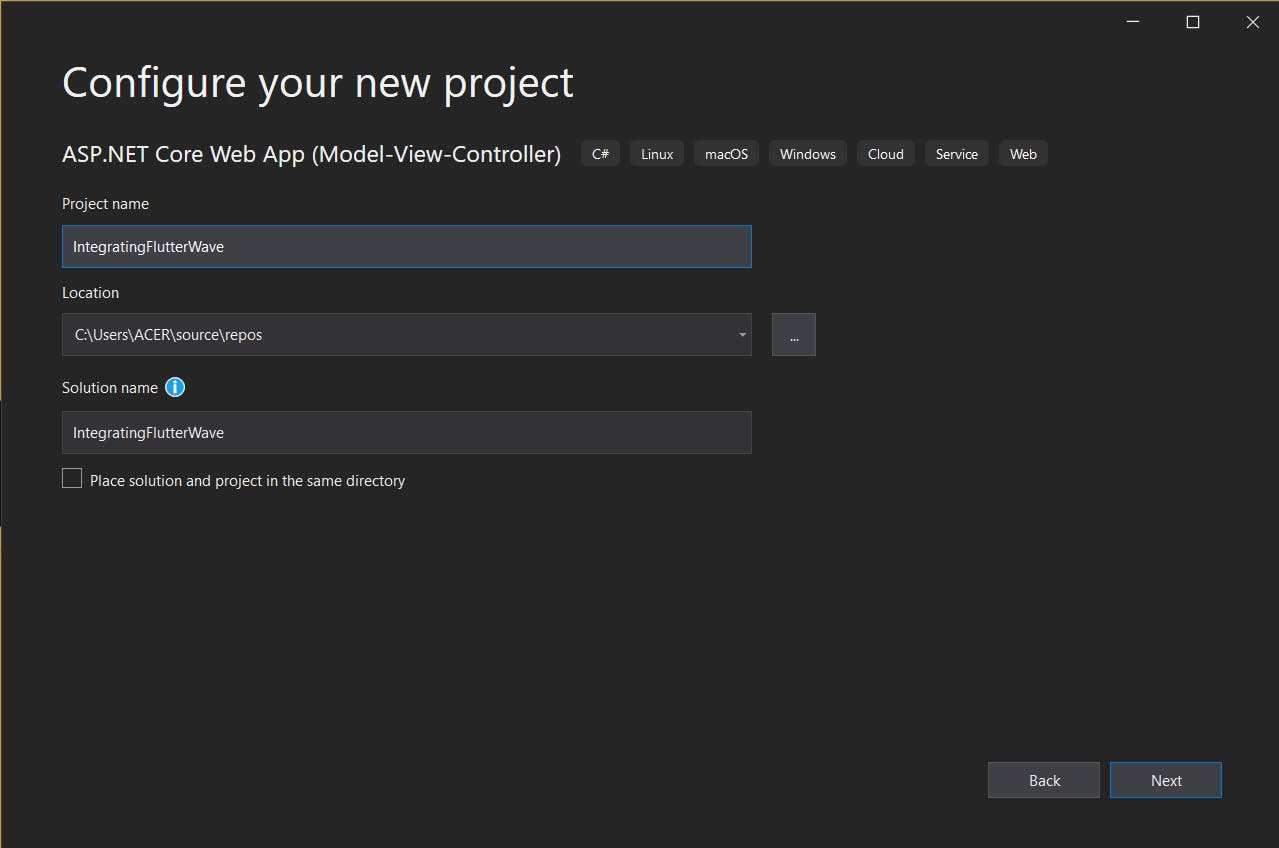
Type in the name of your project
Creating a checkout form
Below is the code to a sample checkout page we would use to receive the information of the users which will include their name, email address, transaction reference, currency, and amount to be paid.
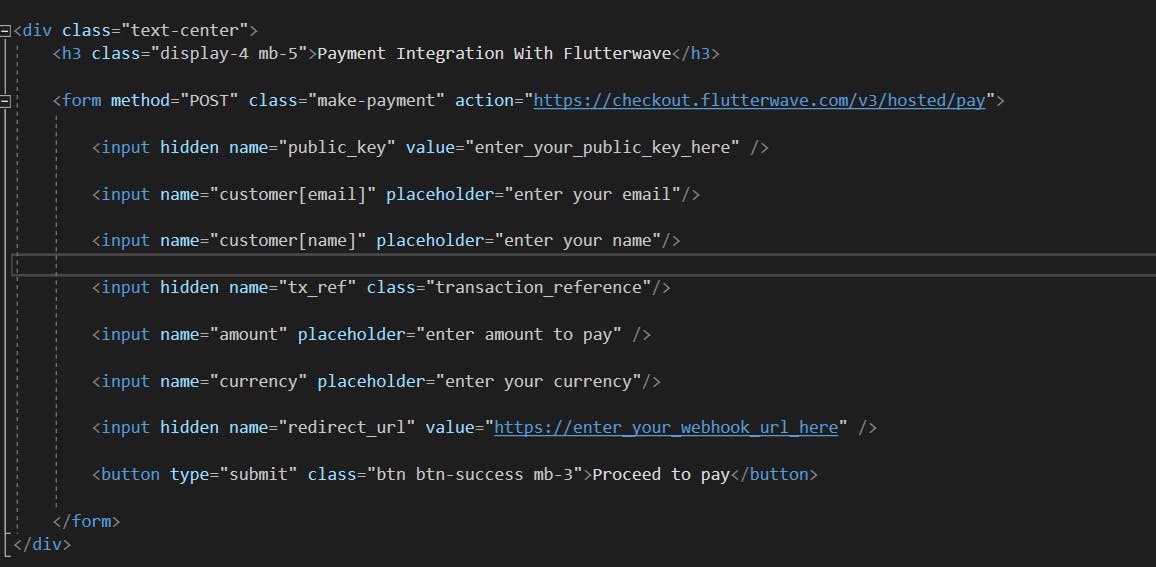
Note: The currency input field takes in the currency of all the countries that Flutterwave supports.
Next, we create a small script to generate a random transaction reference code for each time a payment is initiated, this is because each payment (whether successful or not successful) is to be separated, and the unique number that is used to identify each transaction is the transaction reference code, therefore, it is wrong to use one transaction reference code for all transactions.
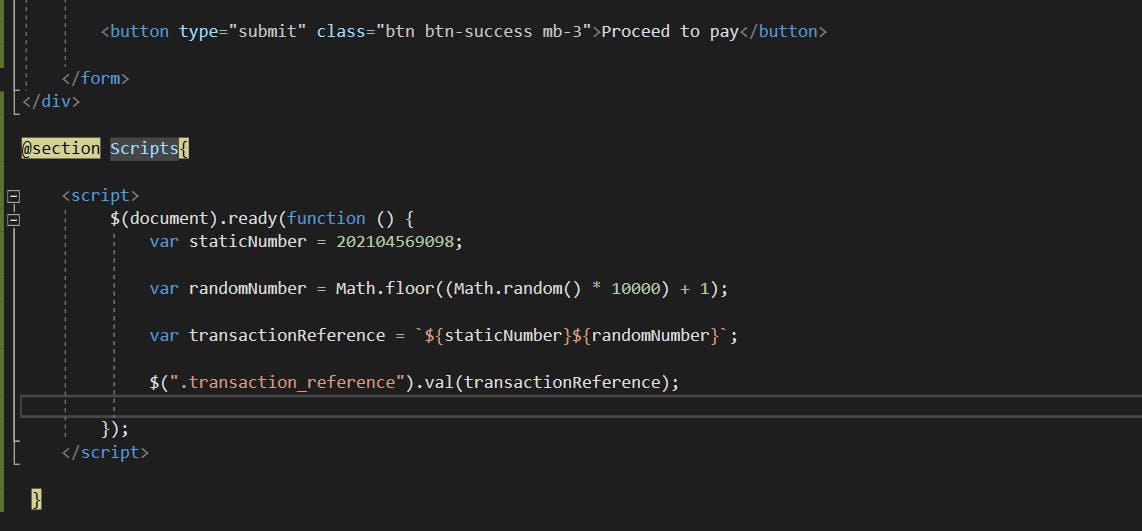
Note: you can write your script in a different way, i used jQuery because i am comfortable with it, if you are fine with JavaScript you can use it too, this is just a sample.
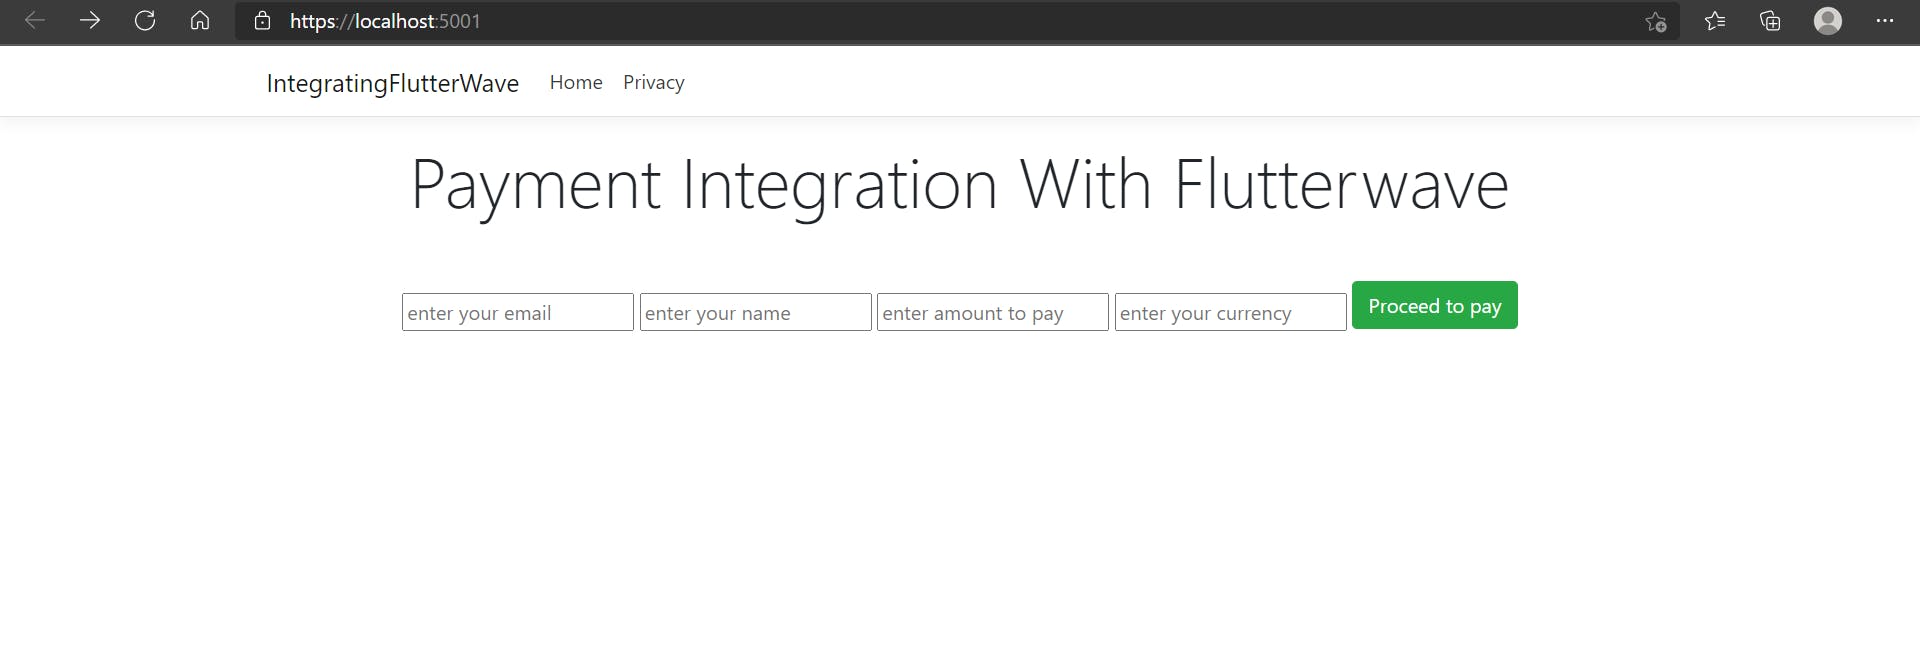
Here is the output of what we have done so far, not so pretty :).
Making the Payment
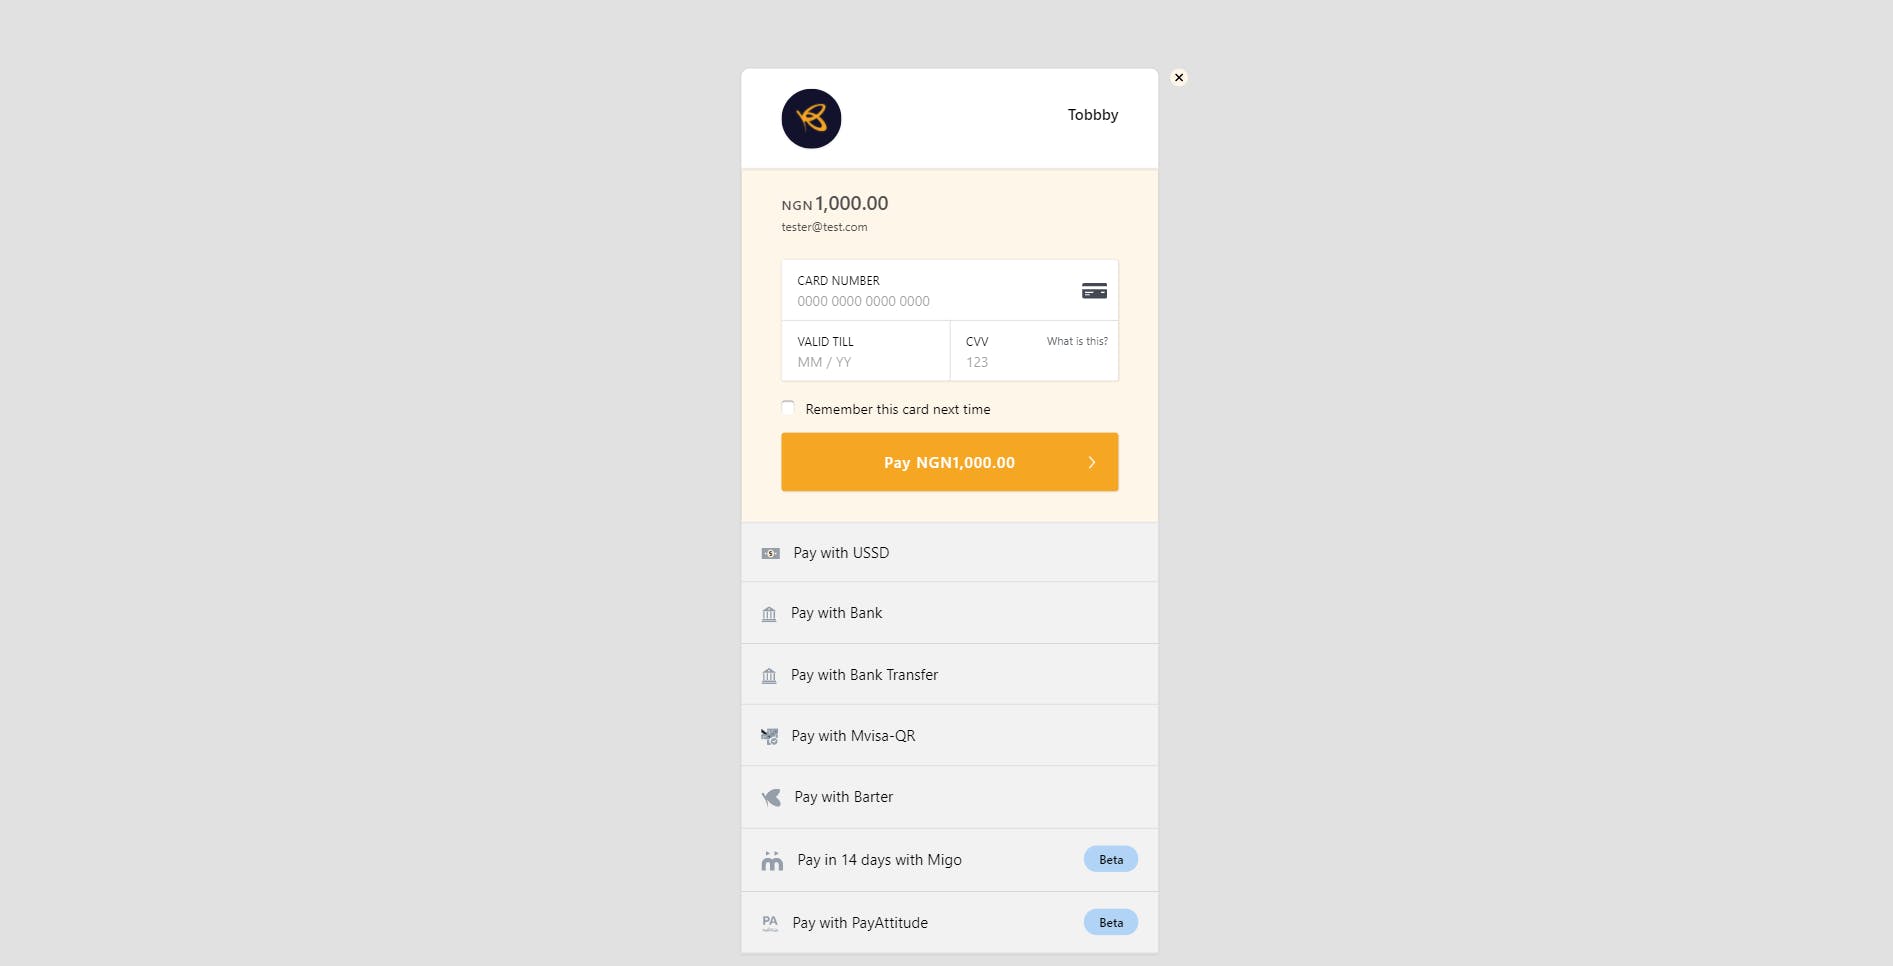
After filling in the necessary information, click the "Proceed to Pay" button, and you will be taken to the checkout page where you can make payment in any method you prefer.
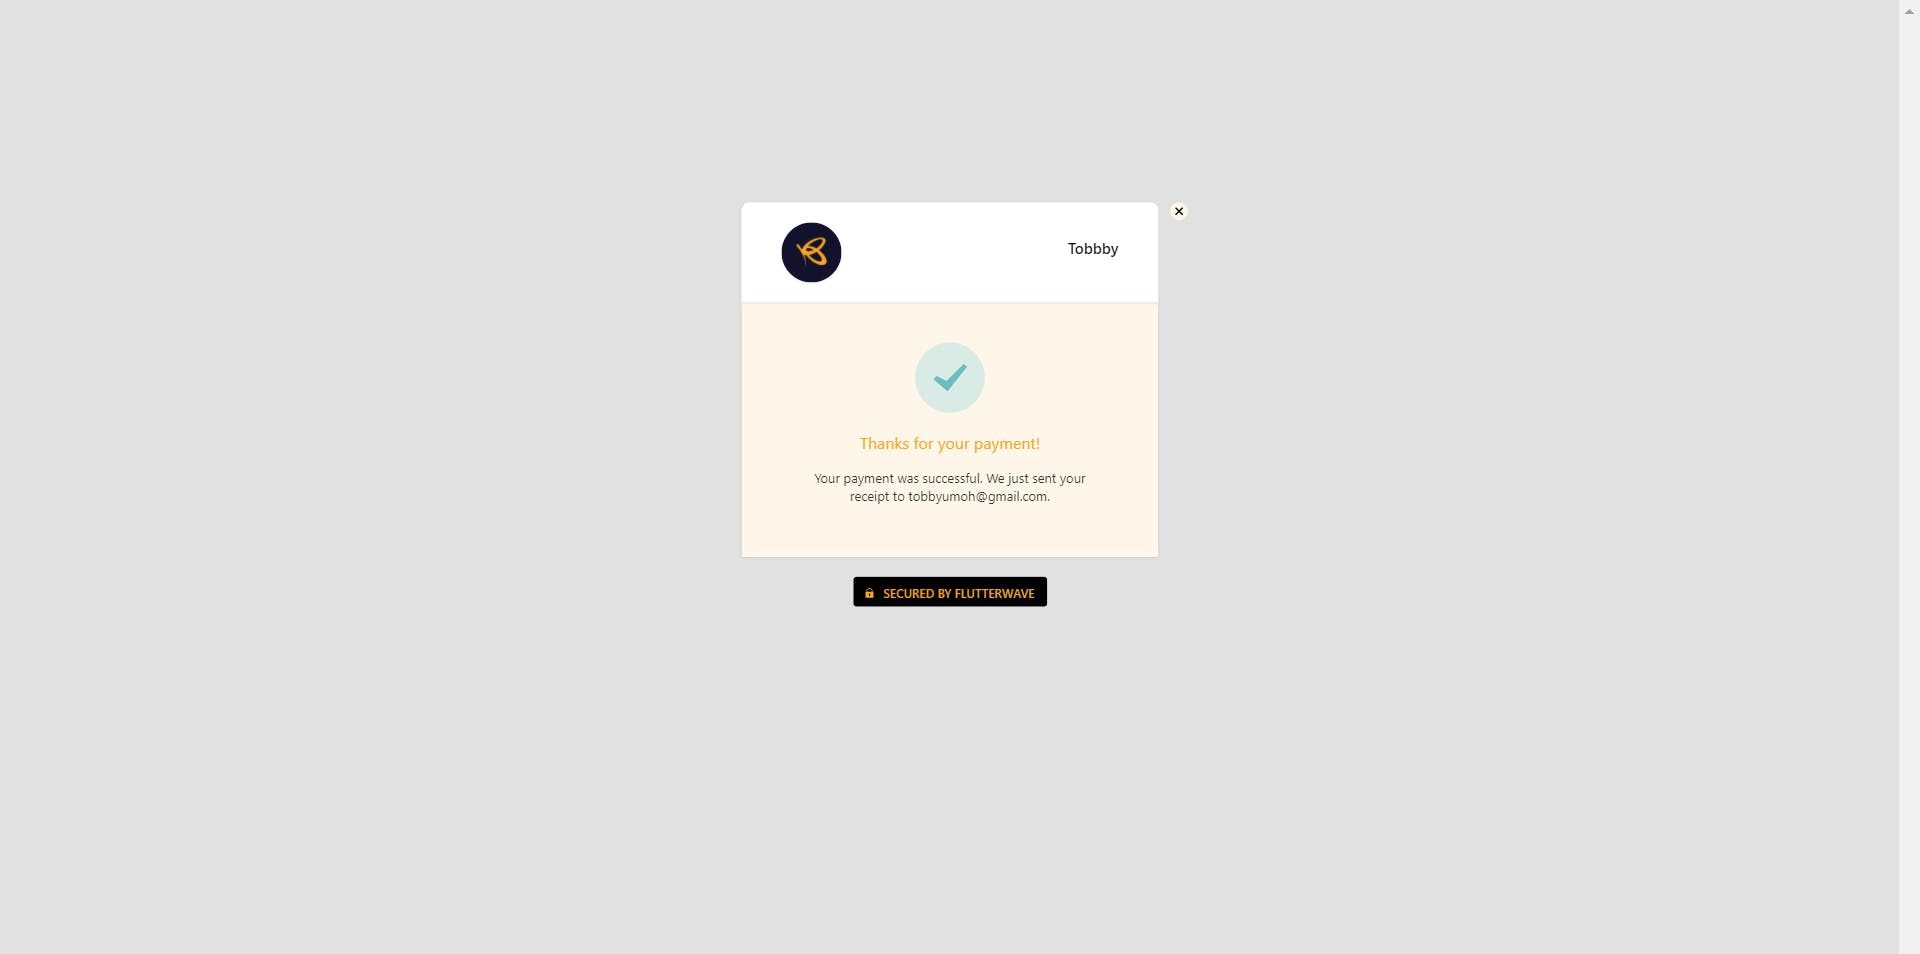
After payment, you will be redirected to the webhook URL that you specified in your dashboard (check out the Setting your webhook URL section), to know the status of the transaction, check out the webhook URL

With this response, we can decide what we want to do, for instance, we might want to save the transaction in our database or we might want to update the current balance of a user, it just depends on the use case of the application you are building.
Conclusion
Integrating and receiving payments with Flutterwave is very easy, in my next article i will be explaining some steps to take when receiving payments, when a payment fails, when the payment process gets canceled, and after receiving payment in an ASP.NET web application. Thanks for reading, if you enjoyed this article, please kindly like and share, if you have questions or suggestions, i will be glad to discuss it in the comments section.
Happy coding.