


Everyone at a point would love to host their website or application live, and we have a few hosting services out there to get this done, but as a .Net developer you might be surprised (or not) to find out that there are not a lot of "free" options for you out there, although, in all honesty, we have a few like "Azure, SmarterASP and a few others" but they are not usually free for a long time, I mention free because you might just want to host a test application for your next tutorial, or an application you want to showcase on your website, or you might want to host a public API.
So in this article, I will be explaining step-by-step how you can host your .Net application using Heroku and Heroku Postgres DB as your database to store your data and share your project/application/solution with the world.
Note: In this article, we will be building a simple jokes application, if you need the source code for this project, check here.
Prerequisites
Create a Heroku account here if you don't already have one.
Create a Github account here if you don't already have one.
.Net version 3.1 to .Net 6.
Creating an app on Heroku
Heroku is a cloud platform that lets companies build, deliver, monitor, and scale apps, they currently support a few programming languages but currently, C# isn't a part of that and we hope they fix that in the future if you want to learn more about Heroku click here. To get started we will be creating an app on Heroku via our dashboard.

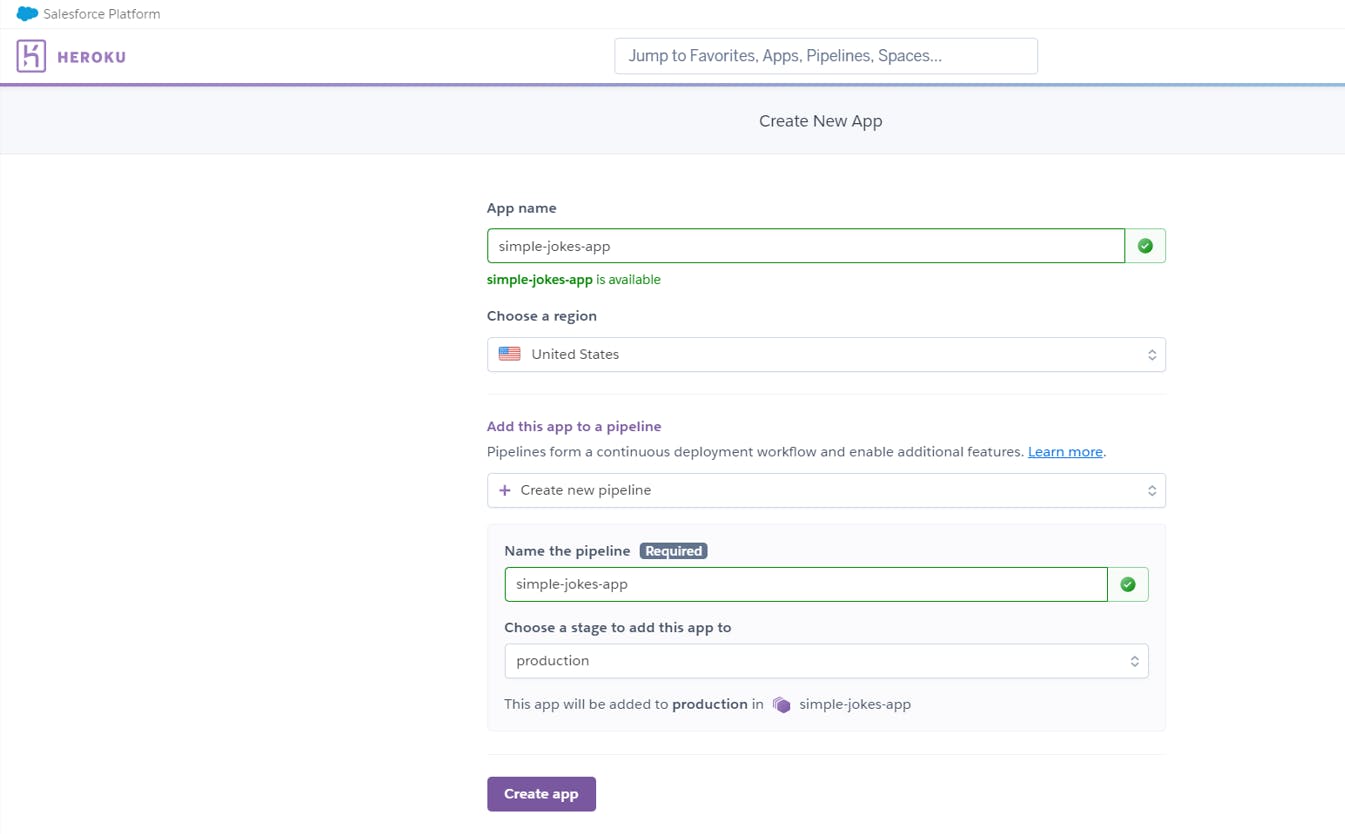
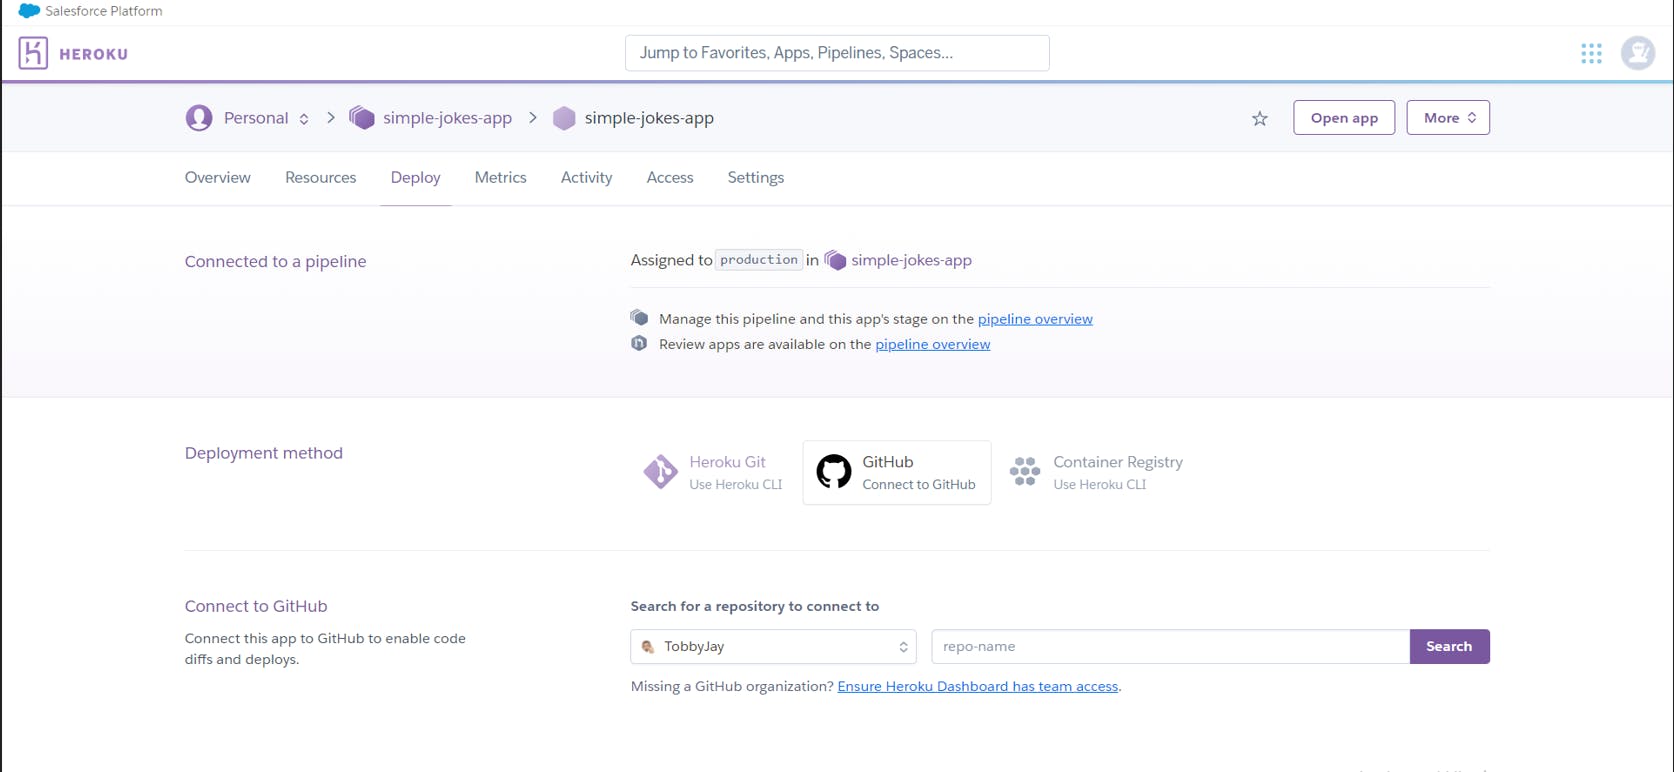
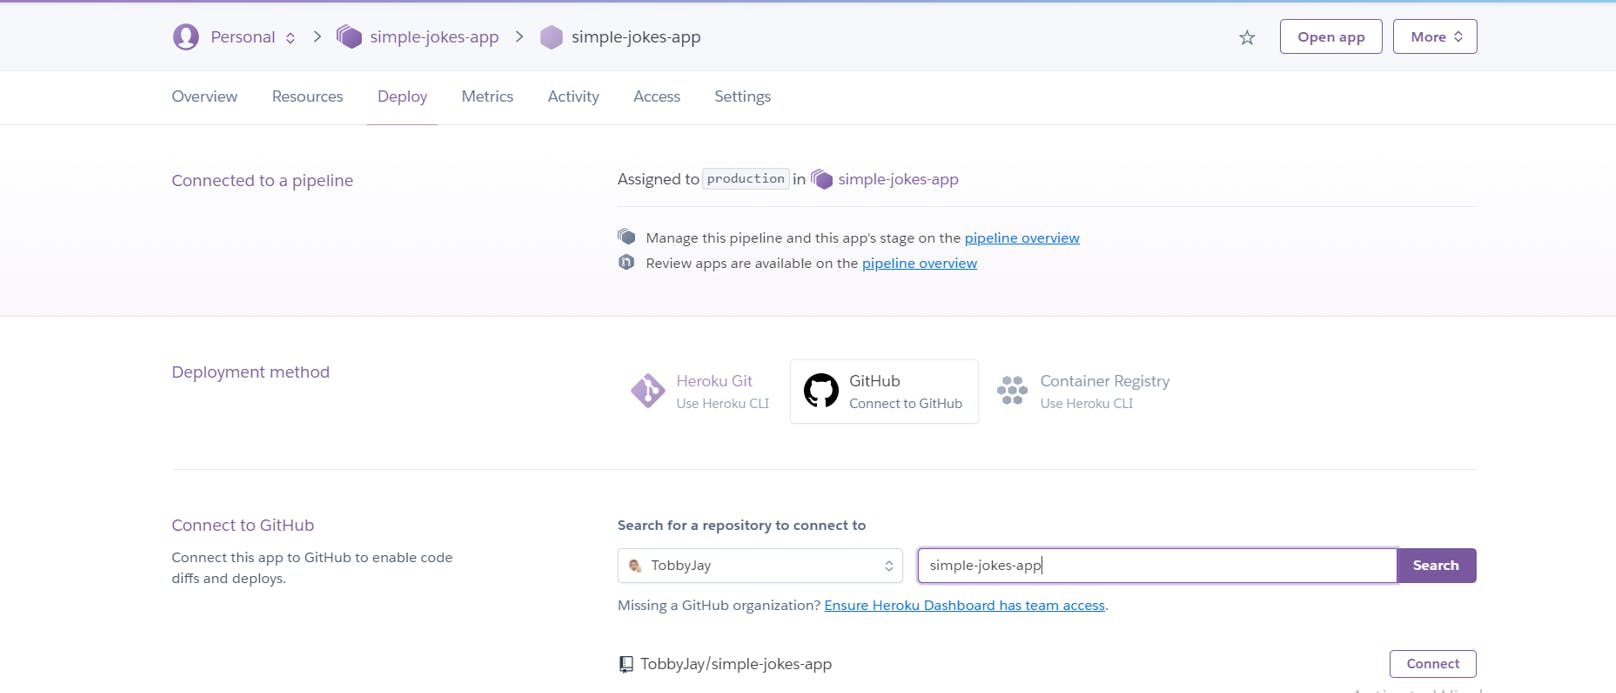
If you followed the steps correctly, you should be on the deploy page, also notice the section titled "Deployment Method", here you can choose any method for deploying our application, but in this article, GitHub will be the deployment method.
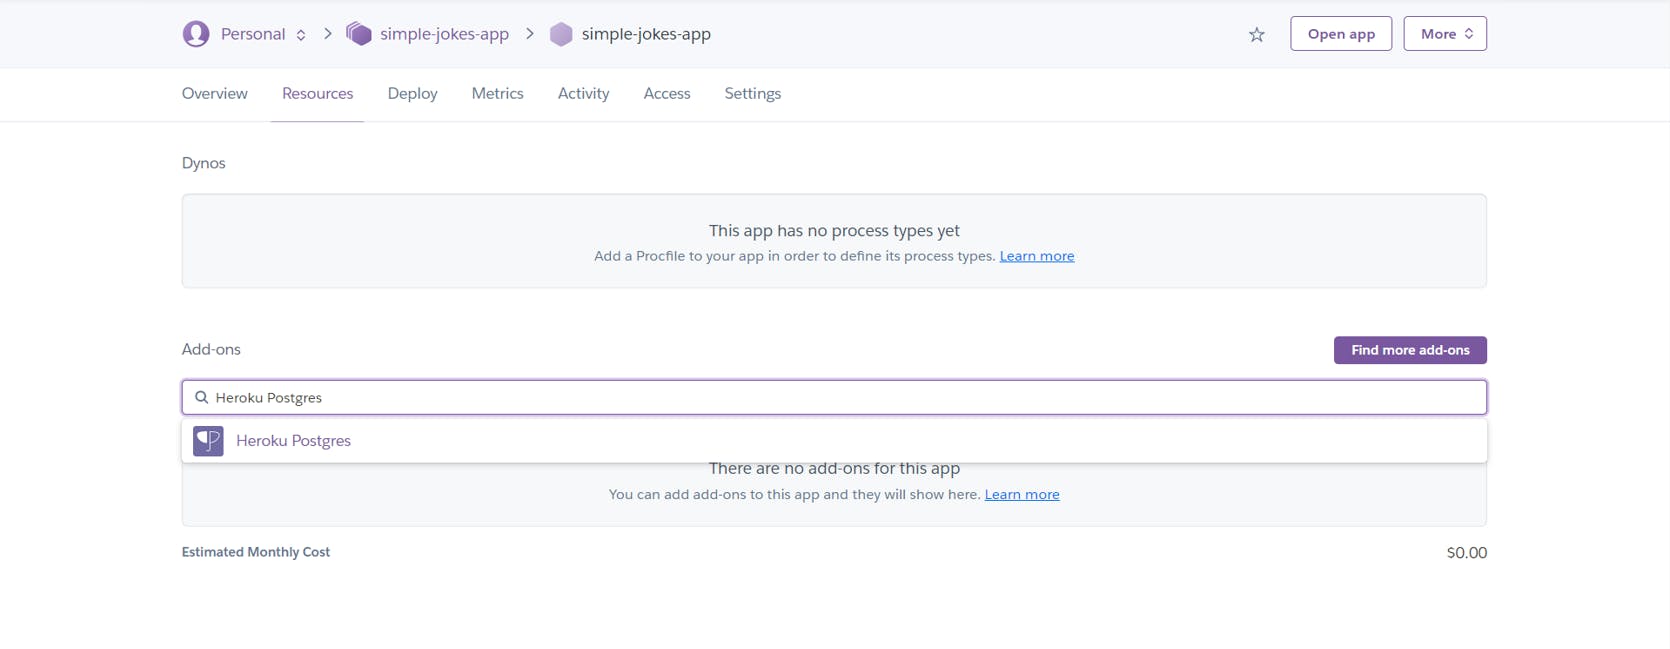
Next, we are going to add Heroku Postgres DB to our Heroku app as an add-on.
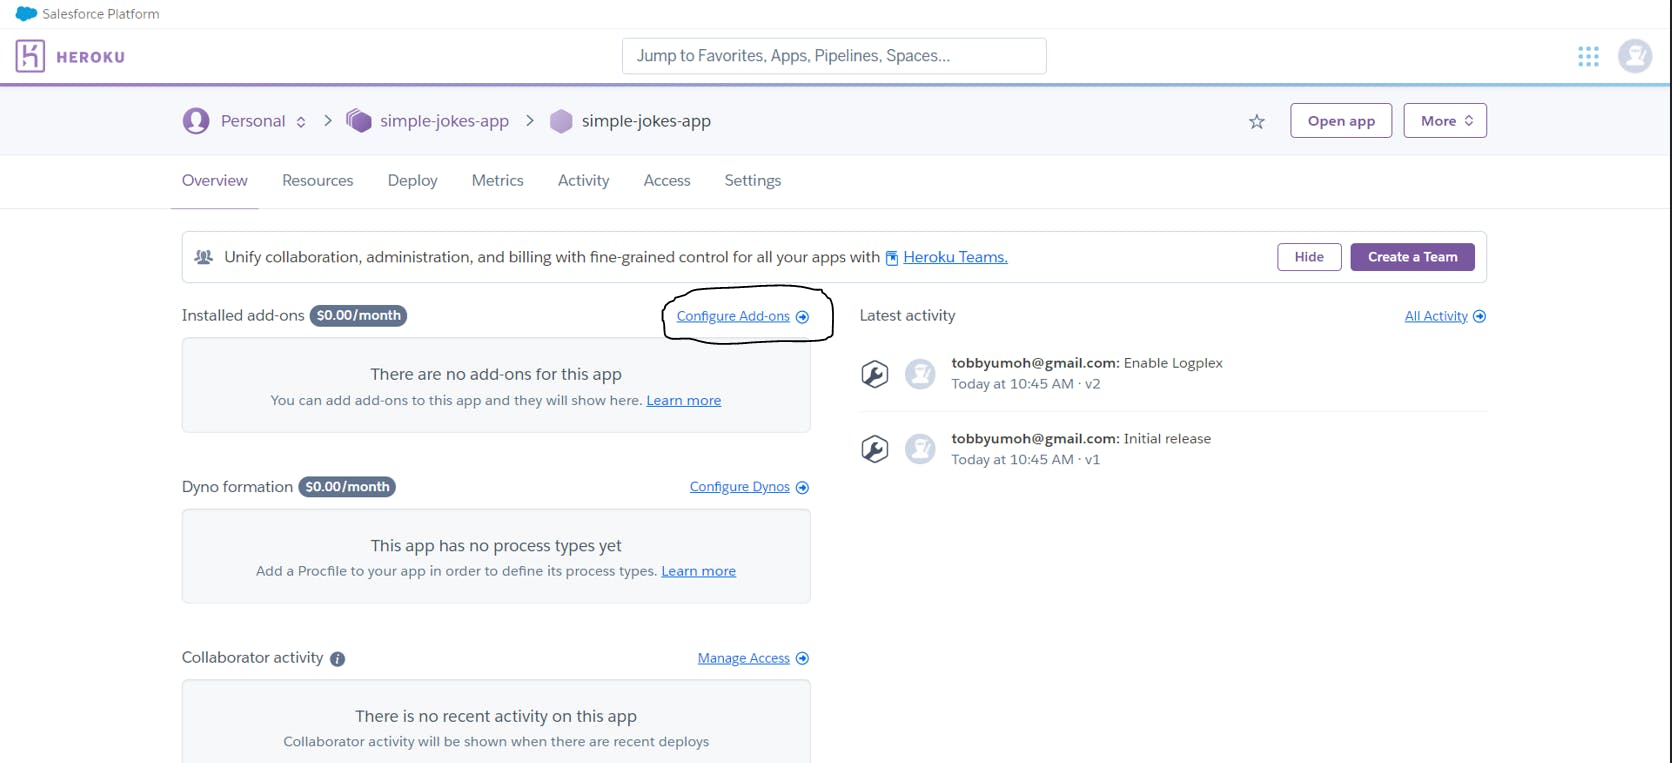
In the "Add-ons" search box type "Heroku Postgres" and click to add.

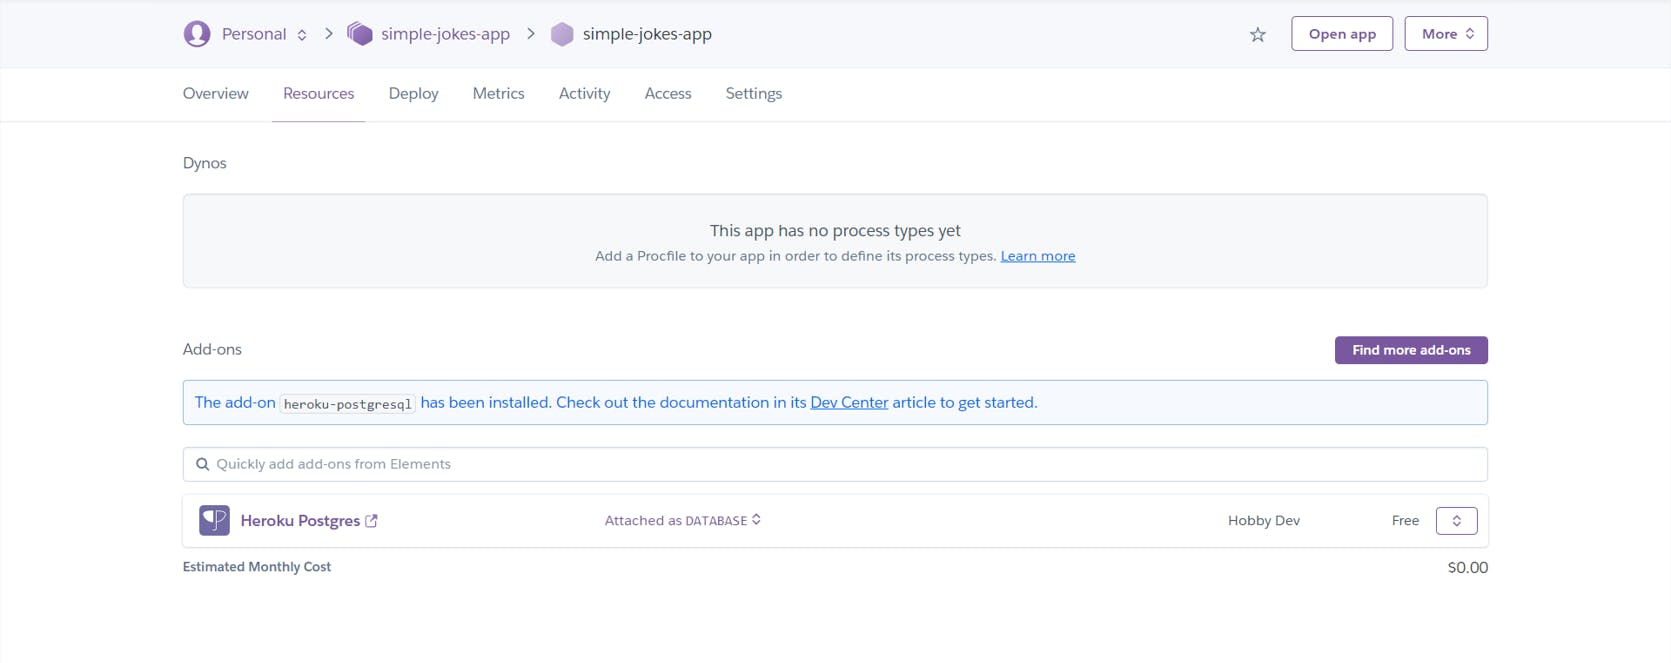
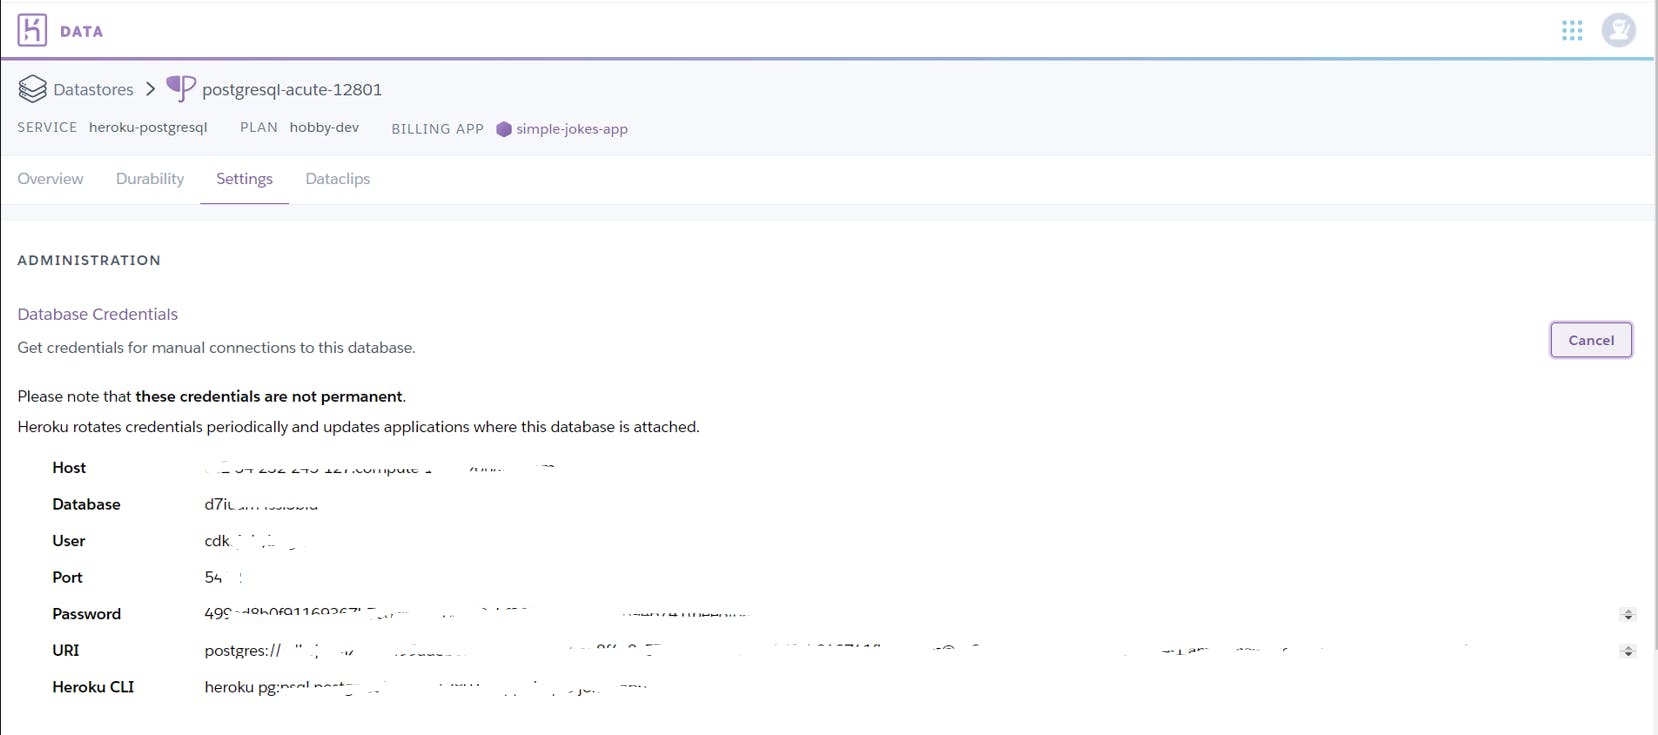
Next, you need to get your Heroku Postgres DB database credentials by clicking the "Heroku Postgres" add-on that was just added.
Building a .Net Application
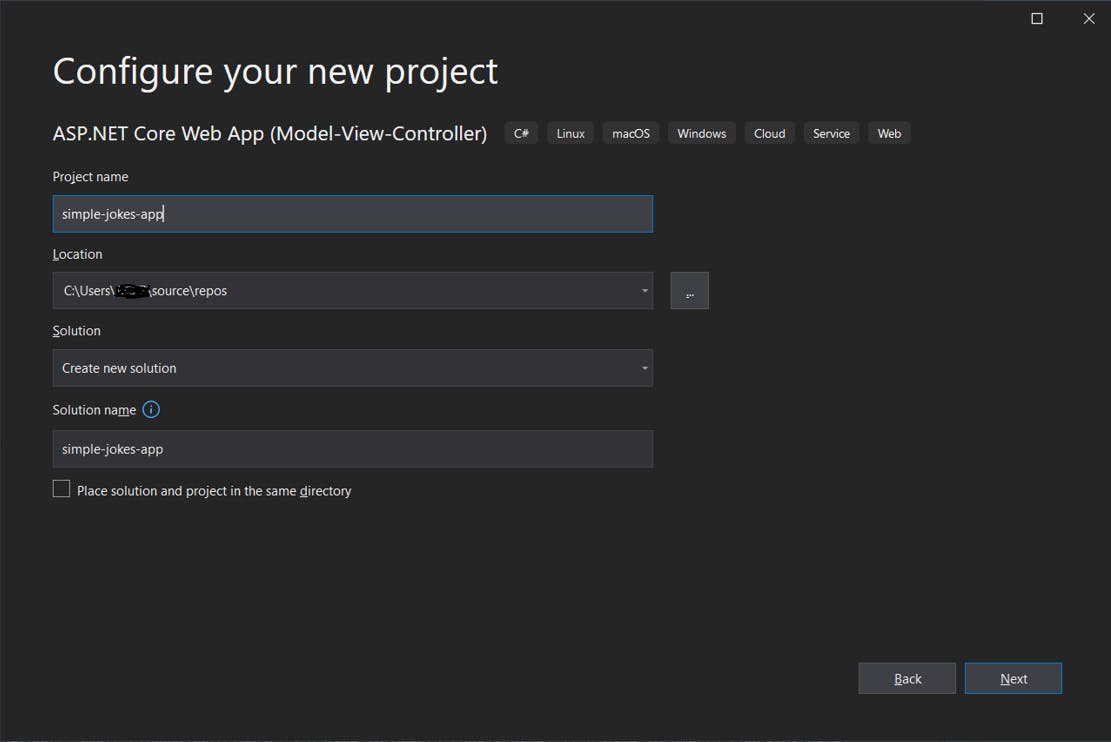
Now that we have finished creating an App on Heroku, we need to create a .Net project, i named the project simple-jokes-app
Next, we will be creating two simple views:
Home Page
Add Show Page
Building the Home Page
@{
ViewData["Title"] = "Home Page";
}
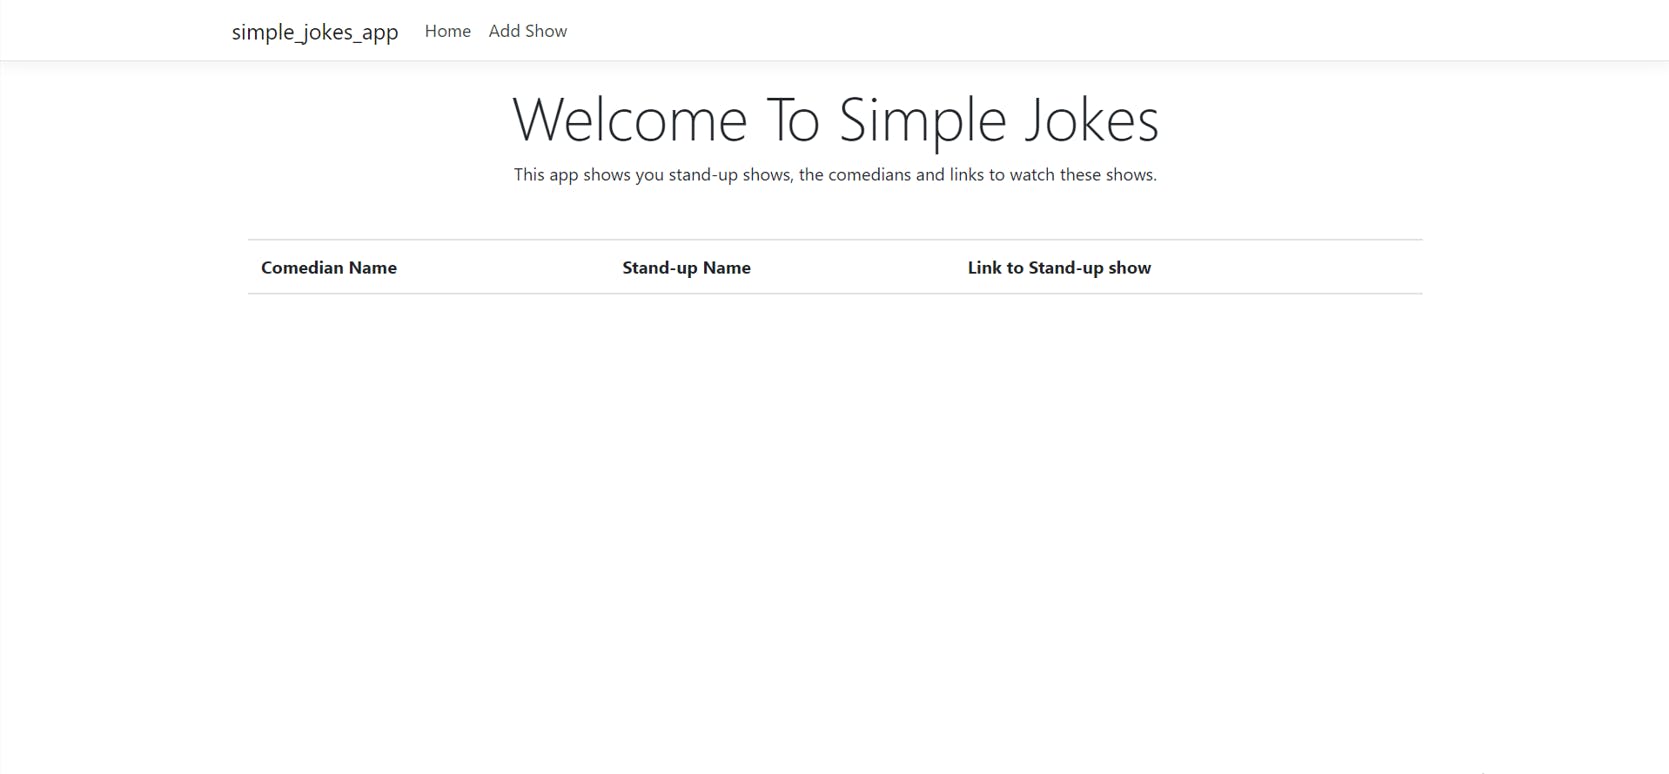
<div class="text-center">
<h1 class="display-4">Welcome To Simple Jokes</h1>
<p>This app shows you stand-up shows, the comedians and links to watch these shows.</p>
</div>
<div class="container mt-5">
<table class="table">
<thead>
<tr>
<th>Comedian Name</th>
<th>Stand-up Name</th>
<th>Link to Stand-up show</th>
</tr>
</thead>
<tbody>
</tbody>
</table>
</div>
The output of the code above should look like the following:
Building the Add Show/Jokes Page
@{
ViewData["Title"] = "Add Show";
}
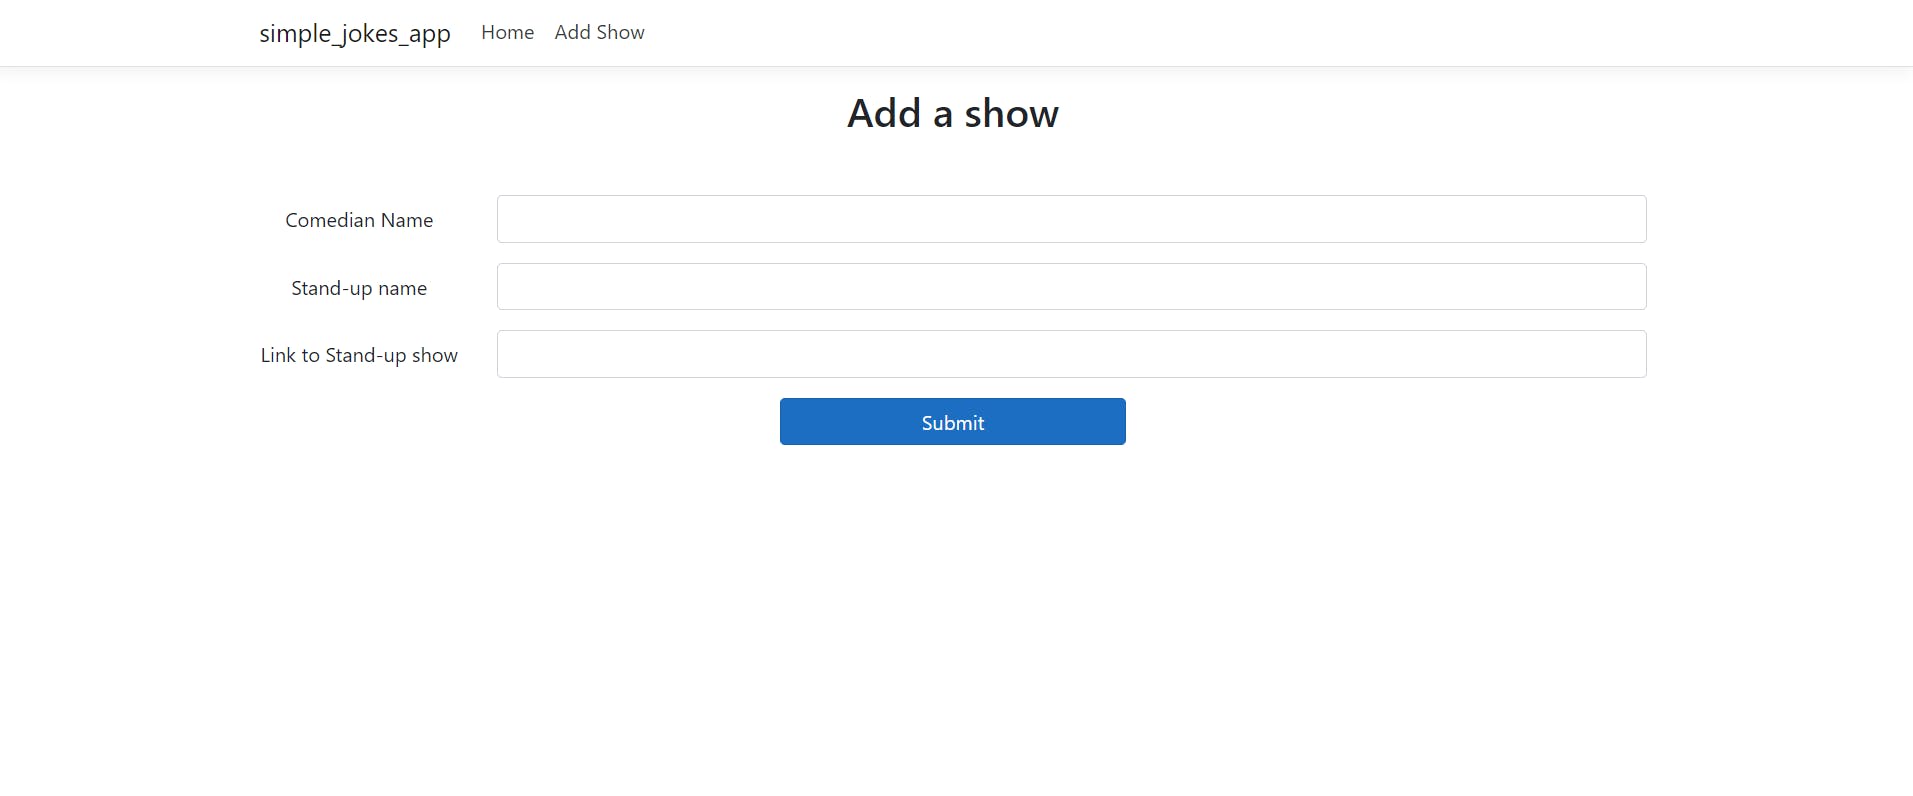
<h2 class="text-center">Add a show</h2>
<div class="text-center mt-5">
<form method="post" class="mt-3">
<div class="form-group row">
<label class="col-sm-2 col-form-label">Comedian Name</label>
<div class="col-sm-10">
<input class="form-control" />
</div>
</div>
<div class="form-group row">
<label class="col-sm-2 col-form-label">Stand-up name</label>
<div class="col-sm-10">
<input class="form-control" />
</div>
</div>
<div class="form-group row">
<label class="col-sm-2 col-form-label">Link to Stand-up show</label>
<div class="col-sm-10">
<input class="form-control" />
</div>
</div>
<div>
<center>
<button type="submit" class="btn btn-primary w-25">Login</button>
</center>
</div>
</form>
</div>
The output of the code above should look like the following:
Adding the Model and DbContext
We will be working with a simple model called Joke, this can be done by adding a Joke class to our Models folder
 public class Joke
  {
        public int ID { get; set; }
        public string Comedian { get; set; }
        public string StandUp { get; set; }
        public string Link { get; set; }
  }
The next step is to create a Data folder and add AppDbContext.cs file which will contain our dbcontext setup, but before proceeding, we need to download a few packages.
Install-Package Microsoft.EntityFrameworkCore -Version 5.0.11
Install-Package Microsoft.AspNetCore.Identity.EntityFrameworkCore -Version 5.0.11
Install-Package Microsoft.EntityFrameworkCore.Tools -Version 5.0.11
Install-Package Microsoft.EntityFrameworkCore.Design -Version 5.0.11
Now let's configure the AppDbContext
using Microsoft.AspNetCore.Identity.EntityFrameworkCore;
using Microsoft.EntityFrameworkCore;

namespace simple_jokes_app.Models
{
    public class AppDbContext : IdentityDbContext
    {
        public AppDbContext(DbContextOptions<AppDbContext> options)
            : base(options)
        {

        }

        public DbSet<Joke> Jokes { get; set; }

    }
}
Configuring Database Connection
We need to add the Heroku Postgres connection string, check out your database credentials on Heroku to have access to the necessary info you would need to create your connection string, the syntax for Heroku Postgres is
"Host={postgresHost};Port={postgresPort};Username={postgresUsername};Password={postgresPassword};Database={postgresDatabase};Pooling=true;sslmode=Prefer;Trust Server Certificate=true"
So using this syntax, we would be creating our own connection string:
{
  "Logging": {
    "LogLevel": {
      "Default": "Information",
      "Microsoft": "Warning",
      "Microsoft.Hosting.Lifetime": "Information"
    }
  },
  "AllowedHosts": "*",
  "ConnectionStrings": {

    "DbConnection": "Host={postgresHost};Port={postgresPort};Username={postgresUsername};Password={postgresPassword};Database={postgresDatabase};Pooling=true;sslmode=Prefer;Trust Server Certificate=true"

  }
}
In Startup.cs we need to register a service to connect the connection string to Postgres by using Npgsql, but before we do this we would need to add the Npgsql package
Install-Package Npgsql.EntityFrameworkCore.PostgreSQL -Version 5.0.10
Now we can register the Npgsql service
services.AddEntityFrameworkNpgsql().AddDbContext<AppDbContext>(options =>
 {
     options.UseNpgsql(Configuration.GetConnectionString("DbConnection"));
 });
Next, we need to add a migration and update the database
Add-Migration InitialMigration
update-database
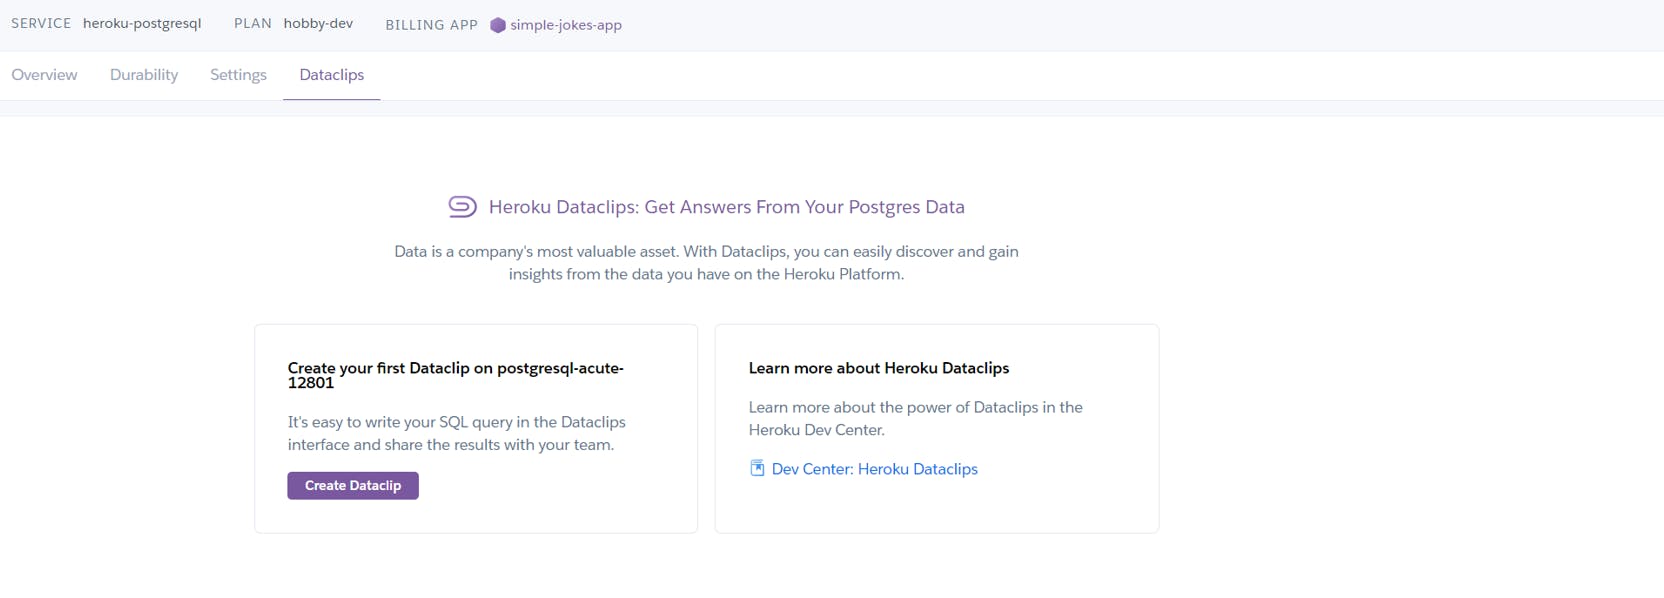
Viewing Data in Heroku Postgres tables using Heroku Dataclips
At this point it would be nice to see if our database has been updated with the Jokes Table, we can view the table on Heroku by using Heroku Dataclips but first, we have to create a dataclip.
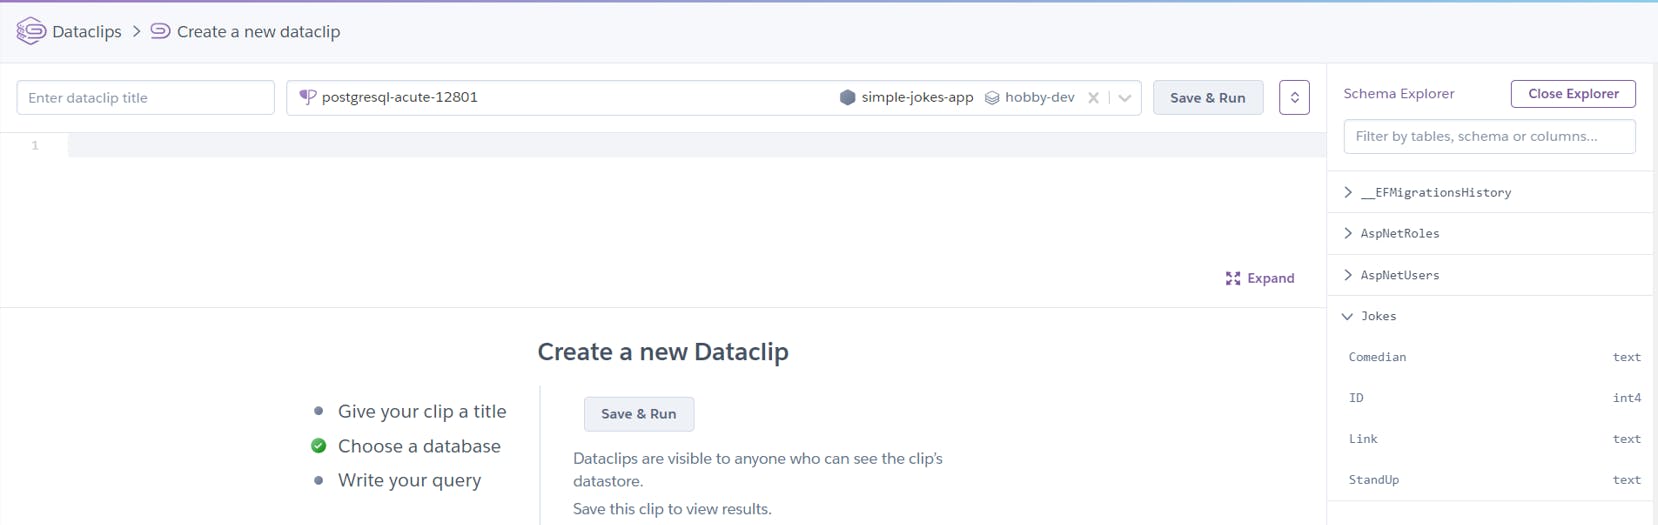
Creating a Dataclip on Heroku
Taking a look at the Dataclip, in the right corner we would see the Schema Explorer which contains all your tables including Jokes which we created.
Wrapping up the Views and Controller
Let us head over to our "Home" and "Add" views to update them
Home Page View
@model IEnumerable<Joke>;

@{
    ViewData["Title"] = "Home Page";
}

<div class="text-center">
    <h1 class="display-4">Welcome To Simple Jokes</h1>
    <p>This app shows you stand-up shows, the comedians and links to watch these shows.</p>
</div>


<div class="container mt-5">

    <table class="table">
        <thead>
            <tr>
                <th>Comedian Name</th>
                <th>Stand-up Name</th>
                <th>Link to Stand-up show</th>
            </tr>
        </thead>
        <tbody>
            @foreach (var jokes in Model)
            {
                <tr>
                    <td>@jokes.Comedian</td>
                    <td>@jokes.StandUp</td>
                    <td><a href="@jokes.Link" target="_blank">@jokes.Link</a></td>
                </tr>
            }
        </tbody>
    </table>
</div>
Add Show Page View
@model Joke;
@{
    ViewData["Title"] = "Add Show";
}

<h2 class="text-center">Add a show</h2>


<div class="text-center mt-5">
    <form asp-controller="Home" asp-action="Add" method="post" class="mt-3">

        <div class="form-group row">
            <label class="col-sm-2 col-form-label">Comedian Name</label>
            <div class="col-sm-10">
                <input asp-for="Comedian" class="form-control" />

            </div>

        </div>
        <div class="form-group row">
            <label class="col-sm-2 col-form-label">Stand-up name</label>
            <div class="col-sm-10">
                <input asp-for="StandUp" class="form-control" />

            </div>

        </div>
        <div class="form-group row">
            <label class="col-sm-2 col-form-label">Link to Stand-up show</label>
            <div class="col-sm-10">
                <input asp-for="Link" class="form-control" />

            </div>

        </div>


        <div>
            <center>
                <button type="submit" class="btn btn-primary w-25">Submit</button>
            </center>
        </div>
    </form>
</div>
Next, let's also update our controller
 public class HomeController: Controller
    {
        private readonly AppDbContext _context;

        public HomeController(AppDbContext context)
        {
            _context = context;
        }

        public IActionResult Index()
        {
            var getJokes = _context.Jokes.ToList();
            return View(getJokes);
        }

        [HttpGet]
        public IActionResult Add()
        {
            return View();
        }

        [HttpPost]
        public IActionResult Add(Joke model)
        {
            if (ModelState.IsValid)
            {
                var joke = new Joke
                {
                    Comedian = model.Comedian,
                    Link = model.Link,
                    StandUp = model.StandUp
                };

                _context.Add(joke);
                _context.SaveChanges();

            }
            return View();
        }

    }
Deploying to Heroku
Finally, we are about to deploy our app to Heroku, but before proceeding, some configurations are required to successfully deploy our application together with our database records to Heroku.
Step 1
We need to enable automatic migration by adding the dotnet-ef tool via the Package Manager Console
dotnet new tool-manifest
dotnet tool install --global dotnet-ef --version 5.0.11
Next, open the simple-jokes-app project in File Explorer and search for a .config folder, open the folder and you would find a dotnet-tools.json file, update the file with the following code
{
  "version": 1,
  "isRoot": true,
  "tools": {
    "dotnet-ef": {
      "version": "5.0.11",
      "commands": [
        "dotnet-ef"
      ]
    }
  }
}
Note: Make sure you set the version appropriately, if your project is in .Net 3.1 for instance, set the dotnet-ef version to 3.1.0
Step 2
Go to launchSettings.json and change the ASPNETCORE_ENVIRONMENT environment variable from Development to Production. ASP.NET Core scaffolding tools may create files that explicitly set it to Development. Heroku config will override this (Heroku config: set ASPNETCORE_ENVIRONMENT=Production).
Step 3
Configure the app to automatically run migrations at startup by adding the following code to the .csproj file
<Target Name="PrePublishTarget" AfterTargets="Publish">
  <Exec Command="dotnet ef database update" />
</Target>
Step 4
Push code to Github so we can safely publish our code to Heroku, and we do this directly from Visual Studio by using the "Add to source control" feature
Step 5
Configure the buildpack for the deployment and this can easily be done under Settings
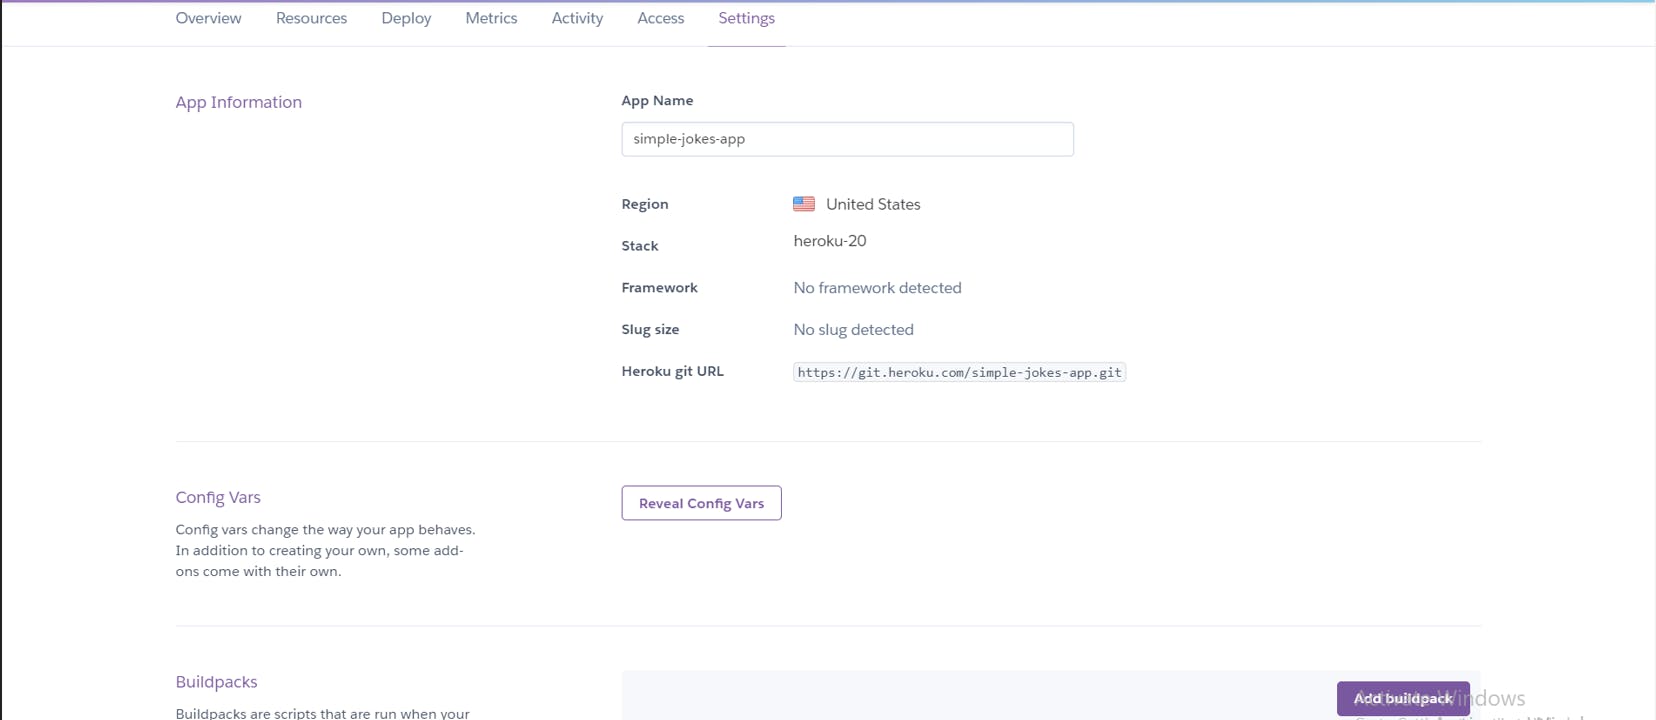
Under the buildpack section, click on Add Buildpack, and you would be required to enter a "Buildpack URL", currently Heroku doesn’t support .NET Core so we need to provide a dotnet core Buildpack URL. I found this very useful Buildpack GitHub location github.com/jincod/dotnetcore-buildpack, I have tested it with a few applications and it works, click "Save Changes".
Step 6
Lastly, go back to the "Deploy" section and search for the Github repository that contains the application we want to deploy, in our case "simple-jokes-app".
Next, "Choose a branch to deploy", click "Deploy Branch" and hold on for the build to finish.
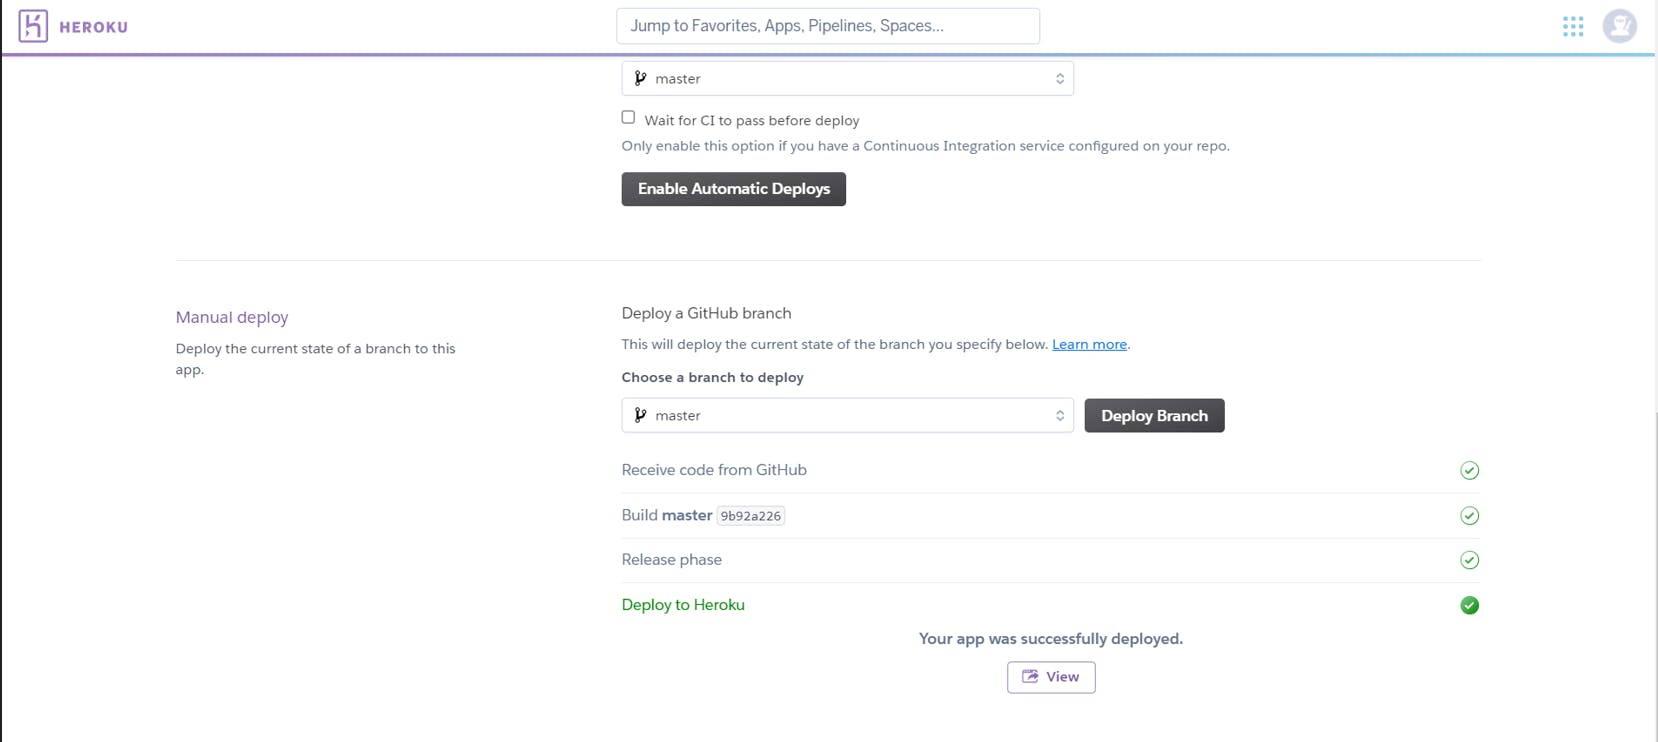
Click "View" to view your deployed app.
Conclusion
Connecting and deploying your .Net application can be a challenge but if you follow this step-by-step tutorial you should be fine. Thanks for reading, if you enjoyed this article, please kindly like and share, if you have questions or suggestions, i will be glad to discuss it in the comments section.
Happy coding.